

Last updated: November 15, 2026
Quick answer: you can measure basement wall bowing at home by checking the offset from a straight reference line and repeating that same check from the same points over time. For How to measure basement wall bowing at home, the useful number is the gap in inches, not a visual guess. If the wall is cracked, moving, or you are unsure how to read the result, speak with a qualified structural professional before you rely on the numbers.
Key takeaways
- Bowing is not a guess; it is a measured offset from a straight reference.
- A plumb bob, level, laser level, tape measure, and reference marks are the basic home tools.
- The same points must be measured every time, or the numbers are hard to compare.
- A soft measuring tape can help on curved or uneven surfaces, according to the Measure App listing in the App Store.
- Cracks wider than 1/10 inch are often treated as structural, while cracks no wider than 1/10 inch should still be watched for change, according to Epp Foundation Repair.
Who should do this at home?
This applies to a homeowner who wants to document basement wall deflection, which is the amount a wall moves inward from a straight line. It assumes you already have basic hand tools and can read a tape measure, a level, and a plumb line. If the wall is bulging hard, the crack pattern is changing fast, or you cannot keep a safe distance while working, stop and get a qualified professional involved.
What does “bowing” mean here?
Bowing means the wall is no longer straight across its face, so the center may sit farther inward than the top or bottom. The measurement you want is deflection: the distance between the wall face and a straight reference line. That number is more useful than a simple visual check, because small curves can look dramatic and larger curves can hide in shadow.
How do I measure a bowed wall?
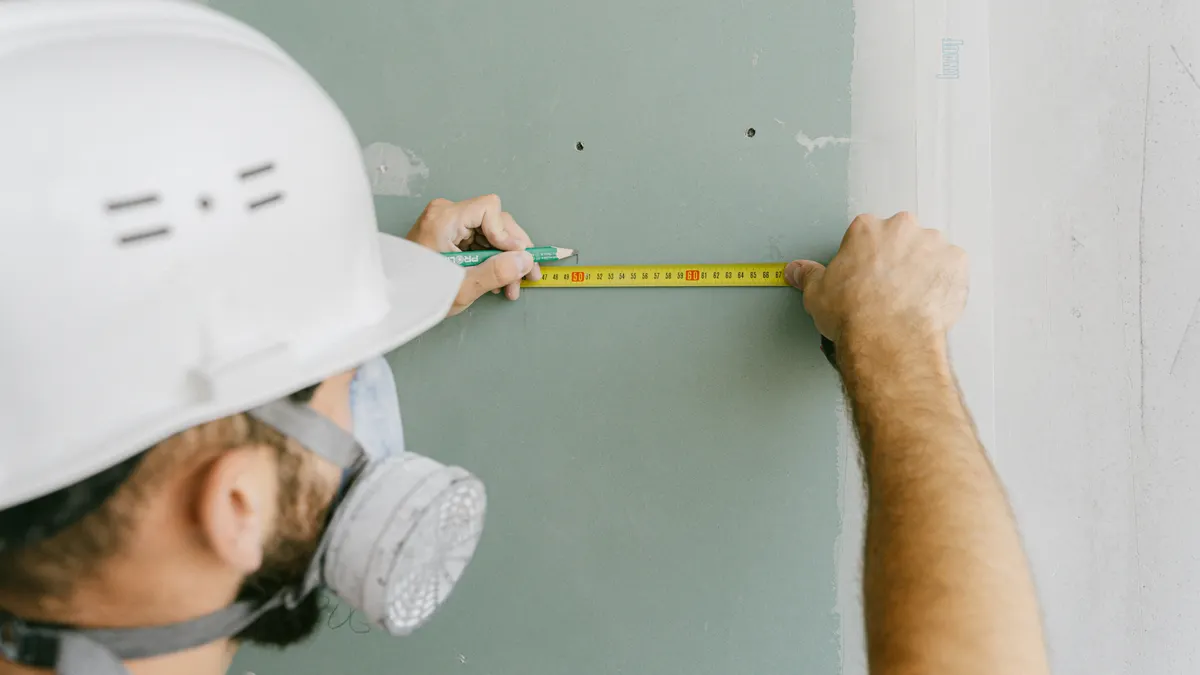
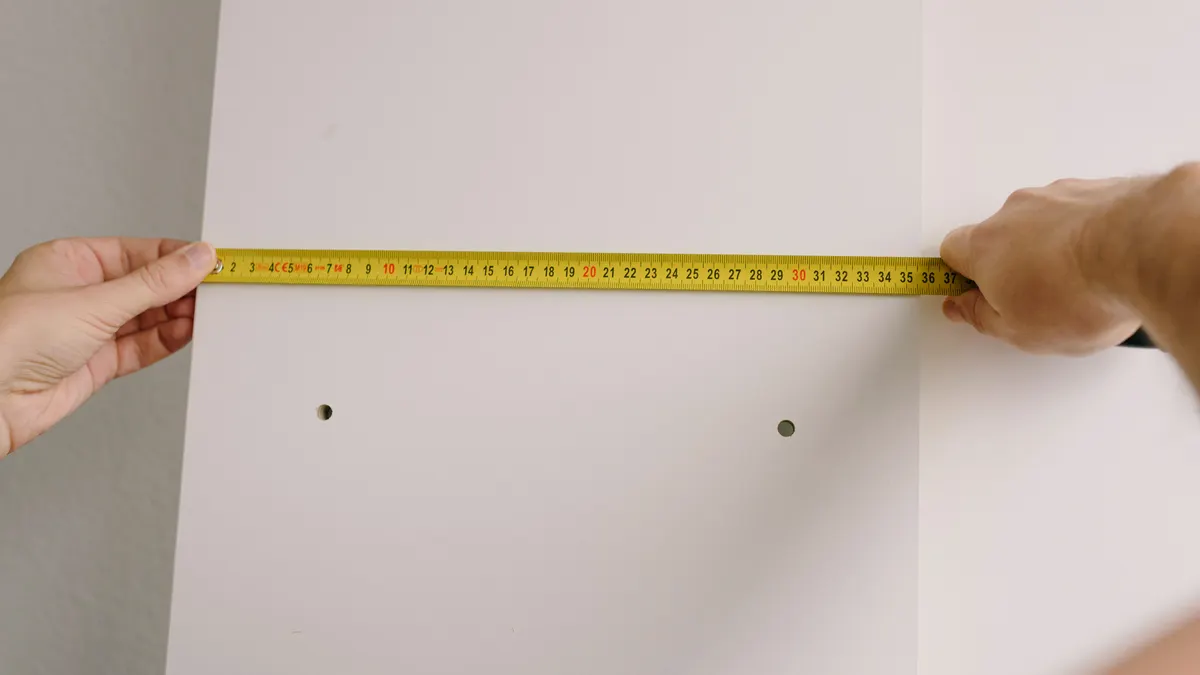
You measure it by building a straight reference line, taking the same reading at set points, and recording the gap. Use a tape measure for distance, a plumb bob for vertical reference, a level or laser level for straightness, and a reference mark so you can return to the same spot later. A soft measuring tape, like a waist tape, is better for curved or uneven areas, according to the Measure App listing in the App Store.
- Mark three to five reference points on the wall at the top, middle, and bottom, spaced about the same distance apart, so you can compare like with like; if the marks shift between visits, the reading loses value.
- Hang a plumb bob from the top edge so its string hangs free beside the wall, and verify the string does not touch debris or trim; if it touches anything, the line is distorted.
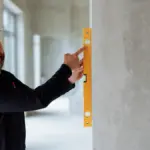
- Place a level or laser level across the wall to establish a straight reference, and verify the line is even from end to end; if the tool rocks, the reference is off.
- Measure the gap from the string line or laser line to the wall face at each reference point with a tape measure, and verify you read the same units each time; if the gap changes from one point to the next, the wall is bowing unevenly.
- Check the center of the wall against the ends, and verify whether the largest gap is in the middle, which often shows the most bowing; if the biggest gap is near a corner only, you may be seeing a local irregularity rather than a full-wall curve.
- Repeat the same measurements from the same marks on a second day or later date, and verify the numbers match your first record closely; if the gap grows, the wall is still moving.
- Record each result in a notebook or phone note with the date, point location, and gap size, and verify you can read back the same point later; if you cannot trace the number to a location, it will not help you track movement.
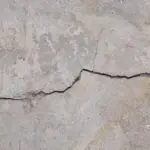
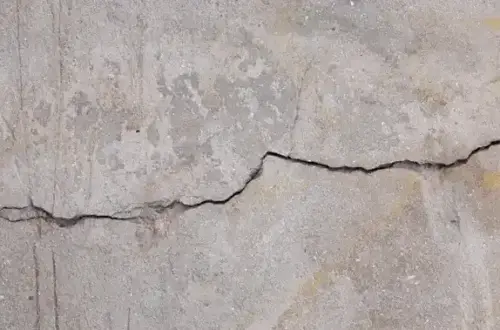
- Compare any nearby crack width with the bowing reading, and verify whether the crack is no wider than 1/10 inch or wider than 1/10 inch; according to Epp Foundation Repair, cracks wider than 1/10 inch are usually structural, while cracks no wider than 1/10 inch should still be monitored for growth.
A straightedge can help on short spans, especially if you want to check a small section between studs or joints. Hold it flat against the wall face and look for daylight or a measurable gap in the center. If the edge rocks, the wall is not flat enough for a simple yes-or-no check, and the gap should be measured instead of guessed.
What tools do I need to check wall bowing?
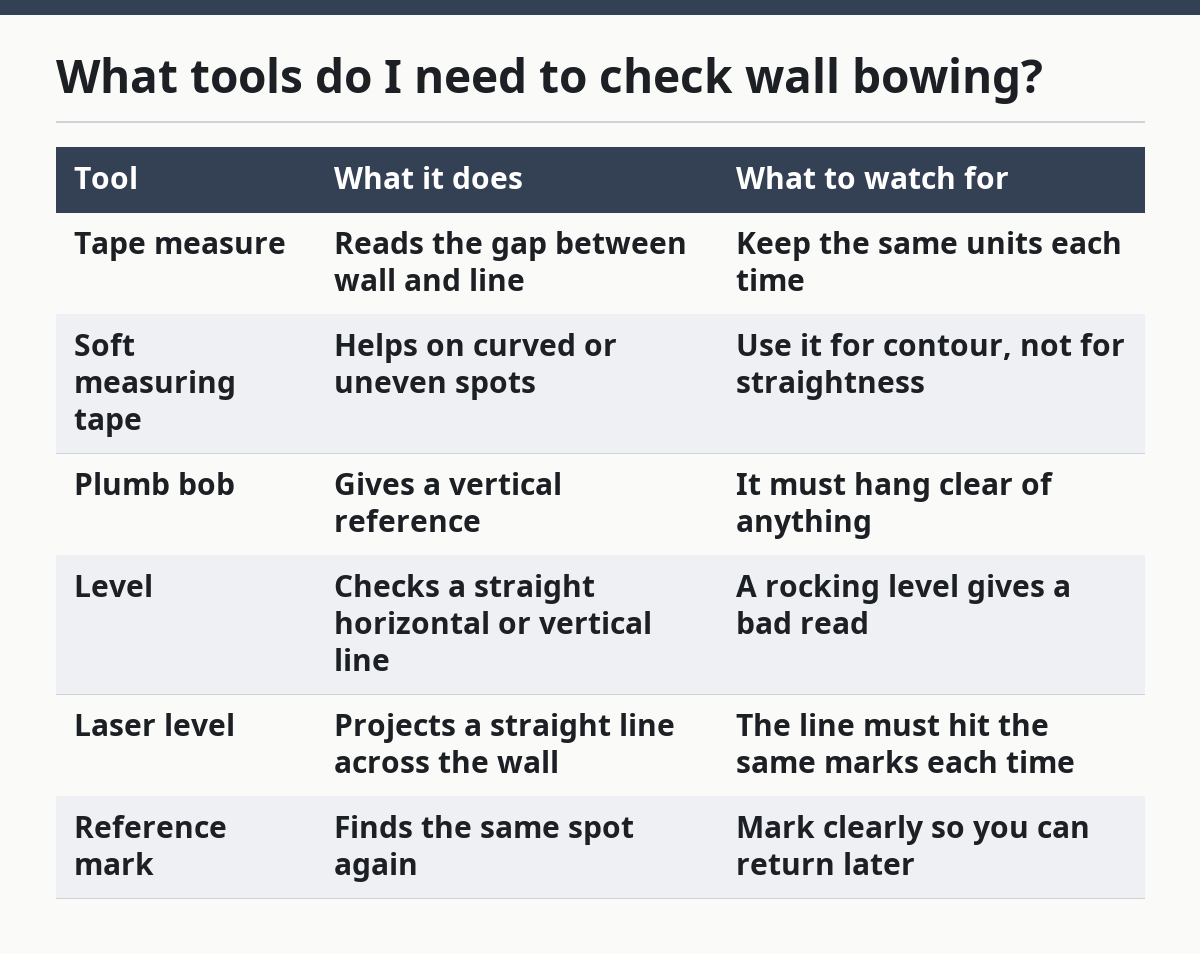
You need a tape measure, a plumb bob, a level, a laser level if you have one, and something to mark the same spot twice. A soft measuring tape can make curved areas easier to read, according to the Measure App listing in the App Store, but it does not replace a straight reference line.
| Tool | What it does | What to watch for |
|---|---|---|
| Tape measure | Reads the gap between wall and line | Keep the same units each time |
| Soft measuring tape | Helps on curved or uneven spots | Use it for contour, not for straightness |
| Plumb bob | Gives a vertical reference | It must hang clear of anything |
| Level | Checks a straight horizontal or vertical line | A rocking level gives a bad read |
| Laser level | Projects a straight line across the wall | The line must hit the same marks each time |
| Reference mark | Finds the same spot again | Mark clearly so you can return later |
A straightedge can help with a quick check, but a 12-inch edge can miss a broad curve if the wall span is wider. Use it as one check among others. The longer the wall span, the more important it is to use a line reference instead of only a short tool.
What should I check before I trust the number?
You should check the setup, not just the gap, because a bad setup gives a neat-looking wrong answer. Make sure the floor near the wall is clear enough that your tape measure can hang straight, the wall surface is visible at each mark, and the reference line is not bent by an obstacle. If your laser hits trim, pipe, or a shelf, move the line rather than adjust the reading.
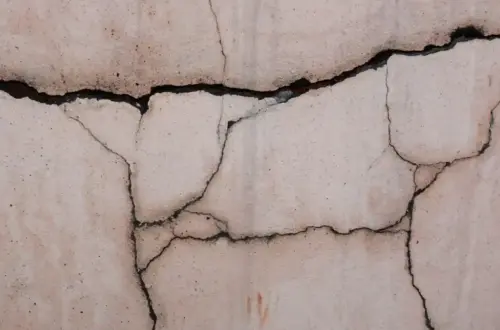
Cracks matter here too. Homeowners should monitor cracks no wider than 1/10 inch to make sure they are not getting bigger, according to Epp Foundation Repair. If a crack is wider than 1/10 inch, or one end is clearly wider than the other, the wall may be moving in a way that should not be handled as a simple cosmetic issue.
The biggest mistake is measuring only once. One reading tells you shape; repeated readings tell you movement. A wall that looks bowed but does not change over time is a different problem from one that keeps moving.
When should I stop measuring and get help?
You should stop the home measurement routine when the wall is giving you signs that the number is no longer the main issue. In those cases, the question is not how to measure better; it is who should assess the wall.
A crack is wider than 1/10 inch: Epp Foundation Repair describes that width as usually structural — stop relying on casual checks and get qualified help.
The gap grows between one check and the next: the wall may be changing over time — stop treating the result as stable, document it for a professional, and use a qualified structural professional to review the trend.
The bowing is uneven across one short area: the wall may have a local failure pattern — stop using only a single straightedge and have the condition reviewed.
The wall face will not give you a clean line-of-sight: pipes, insulation, shelves, or finish material can hide the real shape — stop forcing a reading and clear the view first or get help.
You cannot keep the plumb bob or laser line free of contact: the setup is compromised — stop, reset the measurement point, and do not trust the result until the line is clear.
You are unsure whether the movement is new: an uncertain baseline can make the next reading useless — stop and start a dated record now, or ask a qualified professional to establish the baseline.
What mistakes do people make?
The most common mistakes are simple, but they change the meaning of the reading. A number taken the wrong way can make a wall look safer or worse than it is.
First, people measure from different points each time. That makes the second reading meaningless, because you are no longer comparing the same spot. The fix is to use visible reference marks and keep them in the same place.
Second, people use only a short straightedge and call it good. A 12-inch edge can miss a large inward curve across a wide wall. The better choice is a plumb bob, level, or laser line across the same span.
Third, people read the wall from an angle. That can hide a gap or make it look larger than it is. Stand square to the wall and read the tape at eye level when possible.
Fourth, people ignore crack width because the wall “only looks a little off.” According to Epp Foundation Repair, cracks no wider than 1/10 inch still need watching for change, while cracks wider than 1/10 inch are usually structural. The right move is to record the crack with the bowing measurement, not separate the two.
Fifth, people fail to track movement over time. A single reading has limited value if you cannot compare it later. The correct alternative is a dated log with the same point names, the same tool, and the same units.
What if the wall is curved, finished, or hard to reach?
You can still measure it, but you may need a different setup. If the wall is finished with drywall, insulation, or framing, the visible surface may not be the concrete or block face, so the reading may describe the finish layer more than the wall itself. In that case, the result is less useful unless you can access the structure behind it.
If the wall is curved or uneven, a soft measuring tape can help you follow the surface shape, according to the Measure App listing in the App Store. That helps with contour, but not with bowing depth by itself. You still need a straight reference line to know how far the wall departs from true.
If access is poor, move the reference points to the best open area and note the limit in your record. A partial measurement is better than no record, as long as you label it honestly. A note like “north half only” matters more than a neat number with no location.
How do I track movement over time?
You track movement by repeating the same measurement from the same marks and writing down the date each time. Use the same tool, the same unit, and the same reference line so the comparison stays consistent. A change in the gap, even if it seems small, is the part that tells you the wall is moving.
A simple record can include the wall location, the reference point, the gap at each point, and a note on any crack width. That is enough to build a timeline without guessing. If the numbers change, the timeline is the evidence; if they do not, you still have a baseline for the future.
FAQ
How do I measure a bowed wall?
You measure a bowed wall by setting a straight reference line, usually with a plumb bob, level, or laser level, and then measuring the gap from that line to the wall face at fixed points. The key is to use the same marks every time so you can compare the readings later. A dated log is more useful than a single number.
What tools do I need to check wall bowing?
You need a tape measure, a plumb bob, a level, a laser level if you have one, and a reference mark to find the same spot again. A soft measuring tape can help on curved or uneven areas, according to the Measure App listing in the App Store. A straightedge is useful as a check, but not as the only tool.
How often should I remeasure a basement wall?
You should remeasure any wall you are watching often enough to spot change, using the same setup each time. If the wall is already showing a crack wider than 1/10 inch or the gap seems to be growing, the record matters more than the interval. The main goal is consistency, not a perfect calendar.
Sources
- Measure App — App Store
- Epp Foundation Repair, “Structural or Non-Structural? Understanding Foundation Cracks”
- International Association of Certified Home Inspectors (InterNACHI) — Foundation Wall Cracks
- National Association of Home Builders (NAHB) — Understanding Foundation Cracks
Drafted with AI; not yet reviewed by a person.


One comment on “How to Measure Basement Wall Bowing at Home”